Co-authored by Iftekharul Haque (Hawk)
Here, we first choose what kind of machine learning model we want to use in this process. As anyone with some little machine learning model knows that most common two types are supervised learning and unsupervised learning.
Supervised learning is when we have a labeled dataset. The labeled dataset is a dataset that has both input data and output data. The output data is the data that we want to predict. The input data is the data that we use to make the prediction.
Whereas, unsupervised learning is when we have an unlabeled dataset. The unlabeled dataset is a dataset that has only input data. The input data is the data that we use to make the prediction.
Typically, ML malware detection models are built using supervised learning. Ultimately, we want to build an ML model that can determine whether any given file we pass to it is malware or not. Models focused on this type of task are known as classification models. Ultimately, our aim is to create a binary classification model, since the choice between "malware" and "not-malware" is a binary one.
When working with malware samples, we need to be extremely careful to prevent accidental execution. For example, malware analysis of Windows PE files are often safer within a Linux environment, which inherently reduces the risk of executing Windows-based malware. The inverse might also be said for working with Linux ELF malware - a Windows environment may be considered a safer analysis environment.
Step-by-Step Guide for ML Malware Detection
1. Choose the Learning Type
- Opt for supervised learning to ensure effective classification.
- Focus on developing a binary classification model to differentiate between malware and benign files.
2. Collect Samples/Raw Data
- Gather a diverse set of both malware and benign samples.
- Ensure that your dataset is accurately labeled to enhance model training.
- Implement safety measures to prevent accidental execution of any malware during analysis.
3. Extract Features
- Identify critical characteristics of the samples, such as file size and entry point address.
- Consider secondary features like byte histograms and frequency counts.
- Engage in feature engineering to select the most impactful features for your model.
4. Process and Format Data
- Convert extracted features into numeric representations suitable for ML algorithms.
- Experiment with various formats to find the most effective representation.
5. Train the Model
- Input the processed data into your chosen ML algorithm.
- Allow the model to learn patterns associated with both malware and benign samples.
6. Test and Evaluate the Model
- Use a separate test dataset to assess performance.
- Refine your model based on evaluation results to improve accuracy.
7. Deploy the Model
- Utilize the trained model to classify new, unseen files as either malware or not-malware.
8. Continuously Update and Improve
- Regularly retrain your model with new samples to maintain its effectiveness.
- Adjust feature engineering and model parameters as necessary based on ongoing results.
This step-by-step guide provides a high-level overview of the process for creating an ML-based malware detection system.
Possible Pitfalls in ML Malware Detection
Building effective ML models requires large, diverse datasets. If you rely on limited or biased datasets, you risk encountering issues like:
- Overfitting: This occurs when a model memorizes training data rather than learning general patterns, leading to poor performance on new data.
- Underfitting: This happens when a model fails to capture underlying patterns due to insufficient training or limited data, resulting in poor performance across both training and test datasets.
Where to Begin
In recent years, many datasets have been released to the public from a variety of sources to help researchers start building ML-driven malware detection models. Few of the most notable ones are:
These datasets are very valuable starting points for experimentation. Not only are they released with features already extracted and in pre-processed form, many also ship with code that enables researchers to start extracting features from other samples and training their own models immediately.
Here, we will focus specifically on the EMBER dataset. Although it was originally released in 2018, it's an extremely robust and foundational benchmark project for training ML malware detection models.
EMBER Dataset
The EMBER dataset comprises malware samples organized by family and variant, along with benign software samples. It’s structured into three main categories:
- Malware Families: Includes various strains such as Conficker and WannaCry.
- Malware Variants: Organizes samples by their specific variants.
- Benign Software: Comprises common software applications like Microsoft Office documents.
This dataset serves as an excellent foundation for experimentation and model training due to its comprehensive nature and pre-extracted features.

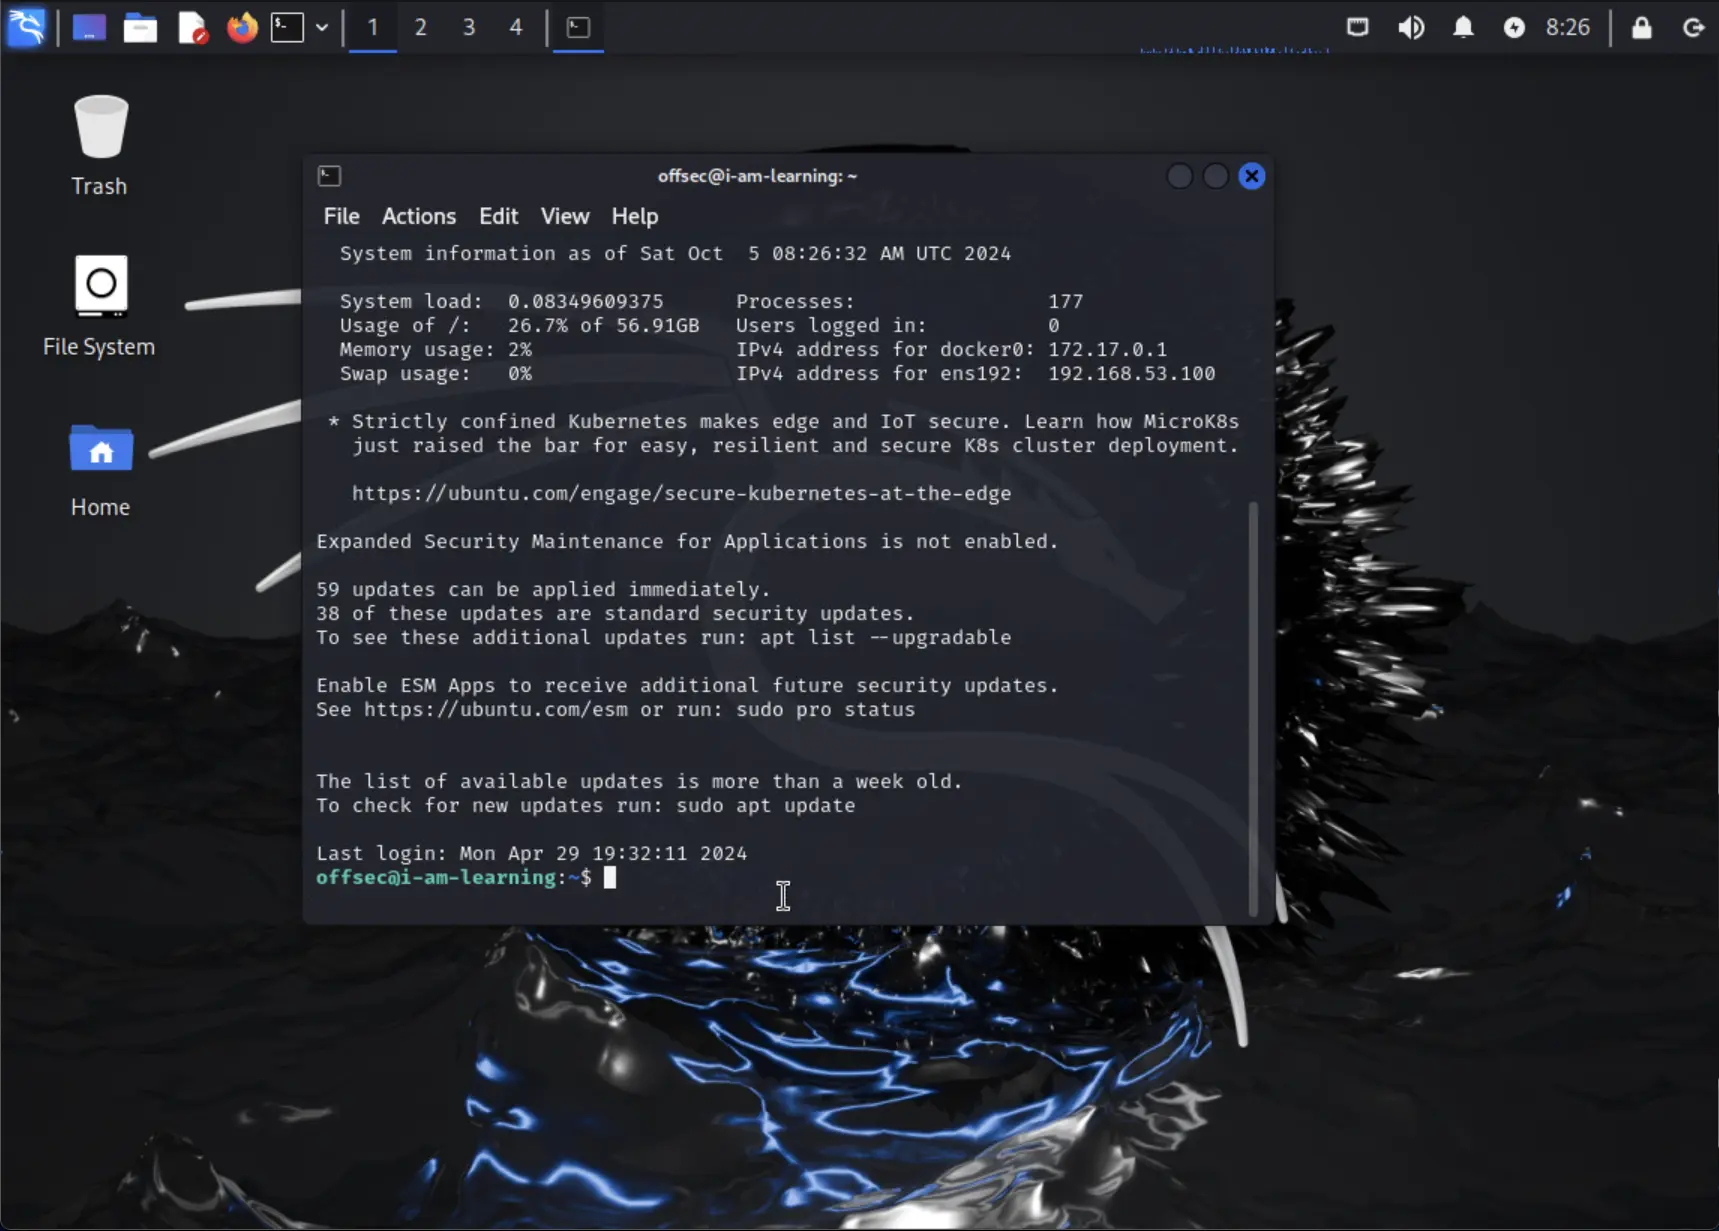
As part of this setup, we will establish a local port forwarding configuration. This will map port 8888 on the loopback interface of the Ubuntu VM to port 8888 on our local machine using the command -L 8888:127.0.0.1:8888. This step is necessary for a later stage, where we’ll connect to a Jupyter notebook running on port 8888 of the Ubuntu VM's loopback interface.
ssh -L 8888:127.0.0.1:8888 offsec@<IP>
By doing this, we enable access to the Jupyter notebook on the Ubuntu machine from our local machine, ensuring seamless interaction.
EMBER Codebase
The EMBER project consists of two main components: the dataset and the supporting code, designed to facilitate model training with ease. The Ubuntu VM provided for this project includes the 2018 version of the EMBER dataset, sourced from Elastic, and can be found in the /opt/data/ directory.
